Monday, July 11, 2011

Strawberry Rhubarb Crisp

    When my family lived in Lansing, I remember going to potlucks nearly every Sunday. Maybe it just seemed like every Sunday because I was little, but it was quite often. Of these potlucks there are a few things I remember: sweet and sour meatballs (look but don't touch), jello with fruit in it, deviled eggs, and rhubarb pie. Potlucks, to this day, still gross me out. I guess because you never know if someone's kitchen was clean, if they cooked the meat long enough. You catch my drift.
   A couple of weeks ago, as my husband and I were driving through the country, I remembered rhubarb. I am not quite sure where the thought came from. Perhaps I equate rhubarb with the country. At any rate, I started telling him about the rhubarb pies that women used to bring to potlucks when I was younger. He was kind of quiet so I asked him what he thought about rhubarb.
Pause. "I've never had it before."
"WHAT???"I asked. "Come on!"
This really shocked me. He was serious. He knew nothing about rhubarb. He didn't know it looked like reddish-green celery and that it was very tart. I was on a mission to make him try it. He's not a terribly adventurous eater! :)
     On one of our trips to Whole Foods yesterday, there, lying before me was a huge bed of beautiful rhubarb. I quickly loaded my bag and told Anthony that I was going to make Strawberry Rhubarb Pie.
"Ok," he said, trying to be polite. He always says "ok" to something he's not quite sure about. So I grabbed my rhubarb and found a big vat of gorgeously red strawberries and with my plan in place, I headed home to attempt to make this man like rhubarb.
Look at those gorgeous berries!
My stalks of rhubarb.

Here's the recipe I came up with. I have to say, I was a bit skeptical of the outcome. I knew if I didn't nail this, my husband wouldn't try it again. It turned out perfectly. My only complaint was that there was no vanilla ice cream to go with it. Rats!


Strawberry Rhubarb Crisp
4 cups of rhubarb pieces
2 cups of sliced strawberries
1 cup of sugar
1/3 cup of flour
1 tsp of cinnamon

Topping
1 cup oats
1/2 tsp Apple Pie Spice from Penzey's
1/2 cup (1 stick) butter, melted and cooled
1 cup of brown sugar
1 cup of flour

Directions:
Preheat your oven to 350 degrees.
While your oven is preheating, start to wash and cut your strawberries and rhubarb. 
Slice your strawberries. Throw them in a deep bowl.

Wash your rhubarb.
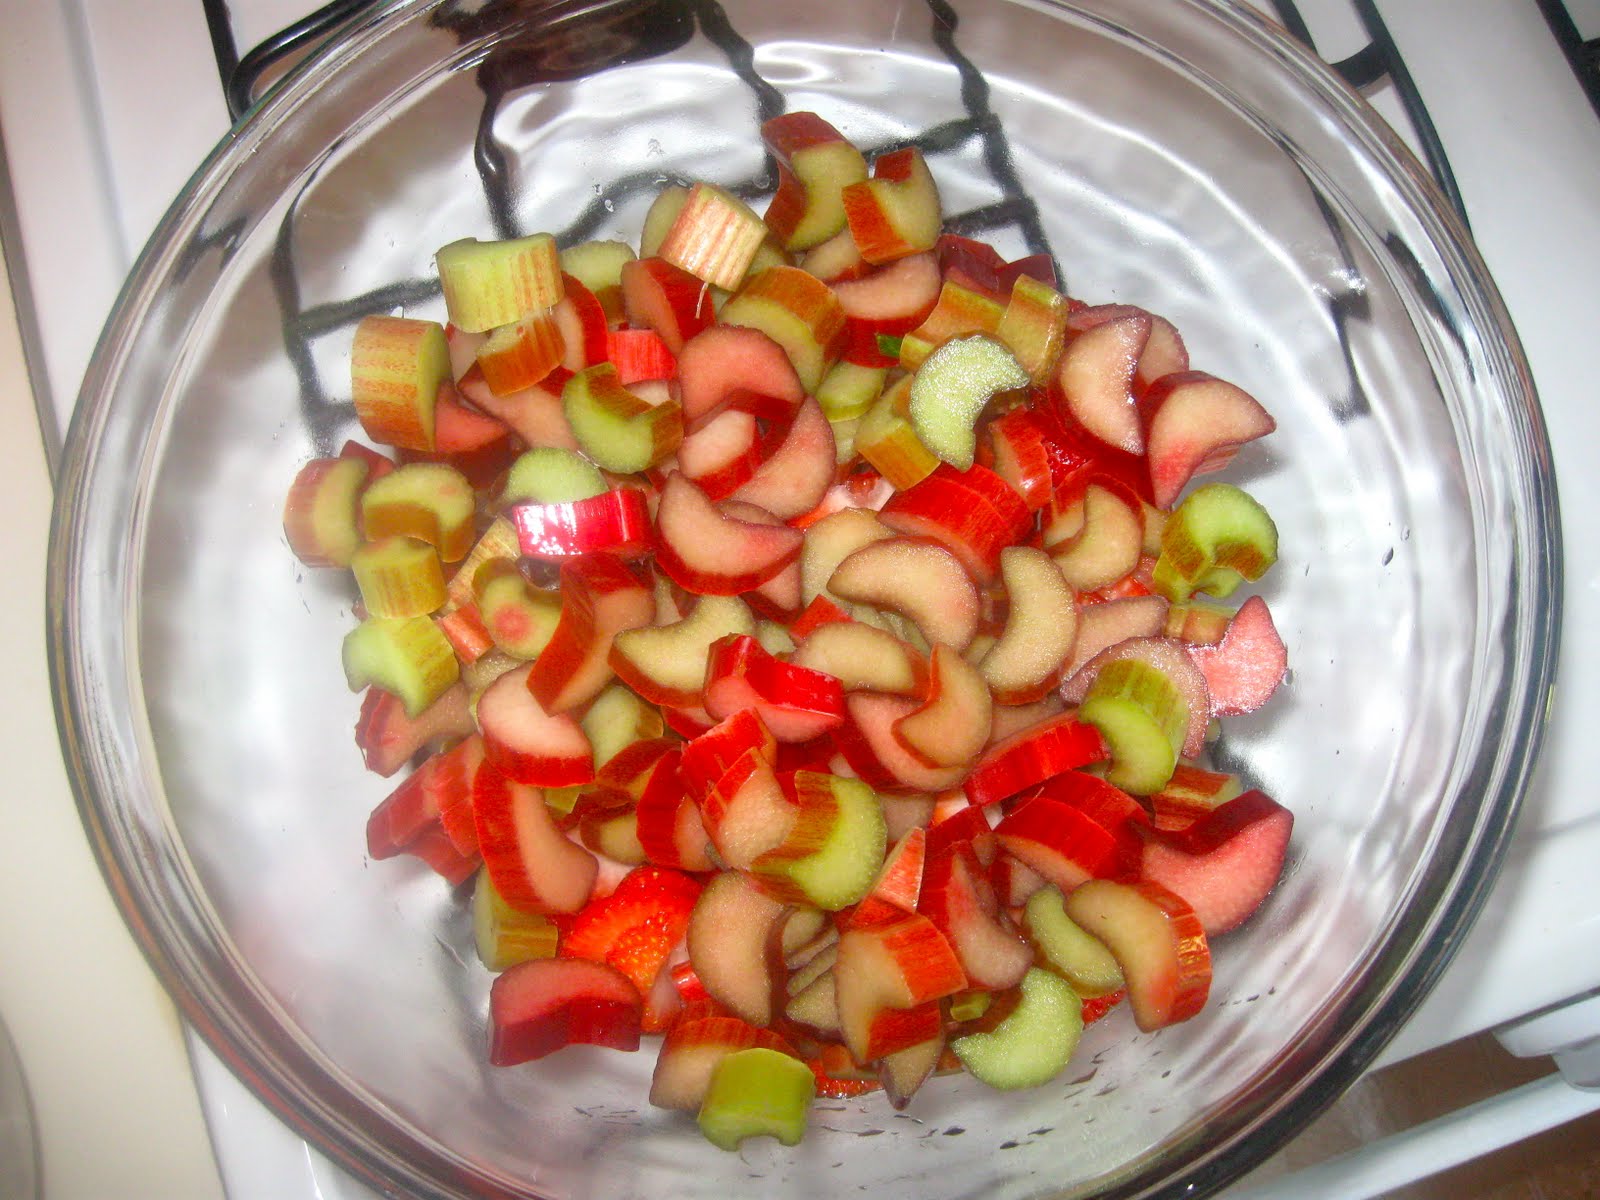
Cut into small pieces and throw in the bowl with the strawberries.

Add sugar, 1/3 cup flour, and 1 tsp of cinnamon to the bowl. 

Mix well so each piece is covered.

Add to greased 9 x 13 pan and set aside.

In a large bowl, combine the brown sugar, oats, 1 cup of flour, 1/2 teaspoon of Apple Pie Spice from Penzey's and slowly pour the cooled, melted butter over the mixture.
Sorry this is a bad picture. But, the idea is you mix the butter so each oat is saturated.

I find mixing the topping with my hands helps to saturate the mixture most efficiently.

Sprinkle the crumble mixture over the rhubarb and strawberry mixture.
Bake in the oven at 350 degrees for 35 to 40 minutes until the topping is golden brown and the rhubarb mixture starts to bubble. Pull out of oven and serve warm or let cool. 

And this is what it should look like! 

My little happy camper! 

I hope you all enjoy this recipe!! 


Thursday, June 23, 2011

One Little Legume: The Bane of Our Existence.

  As most mothers do, I tend to try to keep Callum as busy as possible during the day. I think this is both selfish and selfless. It's selfish because I purposely do this so that Callum exerts all his energy and takes a nap, enabling me to have some "me time." Oh, that sacred time that mothers covet! A day with no "me time" is like a day without air. At least for me. I need at least 5 minutes for myself a day. I think, as mothers, this is important to our sanity. Secondly, I think it's unselfish to keep Callum busy. It engages his mind and exposes him to life. Today, I realized just how "exposed" he could be.
    Our family belongs to the Cleveland Museum of Natural History. I love taking Callum there. He absolutely loves it and I love watching how his curious mind just soaks up everything he sees. He is constantly running from one thing to the next. (Now I understand why mothers wear their tennis shoes to these types of places!) It takes everything I have in me just to corral the kid for one second to tell him about what he's seeing. None-the-less, he loves what he sees. And I love what I see: a child as curious as me with all the energy in the world. 
   Today, we went with Callum's cousins and aunt to the museum. Callum just adores spending time with them and I think they quite like him also. Eventually the time came when all the kids began to groan, "Mom, I'm hungry."
 Callum was viciously eyeing his cousins' potato chips. 
"I have one. Have a couple," Callum asked his cousins. 
In slow motion, imagine me jumping between him and his sweet, little, four year old cousin that was munching on chips. Now imagine me saying, "NOOOOOOOOOO," in a deep, monotone, slow-motion voice. As I am replaying this memory in my head, that's how I remember it. Because, when you're a mother of a child with a life-threatening allergy, every second counts. And those seconds turn into centuries as you replay them in your mind. "...if I had just been a second too late...if that was cooked in peanut oil...what if I wasn't around." You get the picture. I do this a lot. Replay these memories. Replay the memories of his anaphylactic reaction. The choking. The vomit. The welts. The swelling. The red and white lights flashing as I rush Callum down our stairs into the arms of a paramedic that I hope can correct my grave mistake. The absolute hopelessness that I felt. It all haunts me. Every second of every day, it haunts me.
    I've never been more aware of these memories than I was today. At the museum, as the children were getting ready to lunch, we decided to check out the cafe in the museum. In my head I thought that it would be okay as long as I asked what oil they used to cook their food in. As we approached, my heart started to skip. I stood outside of this cafe, Callum in my hands, and just looked. There were probably 100 adults and kids, standing in line to be served lunch. My eyes darted to the metal tables. At this time, the music from killer movies started going through my mind. "Eh...ehh..eh..eh." I think that is the score from "Halloween." 
    Panicked, I froze in the doorway. My eyes were continuously darting between those cold, metallic tables and those kids that I envisioned had peanut butter dripping from their hands. I was absolutely panic-stricken. The reality of the situation started to weigh heavy on my mind. He will never be able to eat in a place like that. Ever. Period. The end. I had this prophetic vision of peanut butter sticking to one of the tables, Callum touching the table, ingesting the smallest fragment of the peanut protein, Epi-Pens, and more lights. 
"I don't think this is a good idea," I said to my sister-in-law. 
She got it. No questions asked. "Ok." 
     We walked to our cars and Callum ate pretzels in his carseat. And I was sad. I want nothing more than for him to have a normal life. There is nothing, within my power, that I can do to change that. Sarah (my sis-in-law) came to the car and in casual talk said, "Yeah, I forgot to pack Nick a sandwich. I was going to make him a peanut butter sandwich and then I remembered that I couldn't because of Callum."
She was right. Callum's allergy not only affects us, but it affects the people surrounding us as well. I feel badly that it has to do that. Yet, the reality remains as so. 
     Now, this isn't a pity party for me. In all of this, it is Callum that I mourn for. I mourn the fact that he will never be able to go to a Baseball game with his father. I mourn that he'll never be able to get an ice-cream at a store, sit at a table that his friends are eating peanut butter, eat anything without looking at a label first. There are many things I mourn. And all because of a measly legume. One little legume. In my mind, this is one of the biggest obstacles: comprehending that there is one little legume standing in the way of what I believe is a normal childhood.
     This is our norm: every label is checked, every hand is washed, every little hive he gets sets full-blown panic in motion, and every person in his life has to understand the gravity of the situation. I struggle a lot because I think people take food allergies lightly. They assume Callum will ingest a peanut and get a hive, take some Benadryl, and call it a night. If Callum ingests a peanut, it could be game over. Six minutes or less to make the right decision. A gamble no parent is willing to take. So, it's all about prevention.
      That is partially why I am doing this blog. Forgive me for forgoing my recipe today. I wanted to give you a glimpse of just how challenging this food allergy business can be. I wanted you to understand that I am still, after seventeen months, learning how to cope and react to certain situations. I'm still learning to deal with those mourning feelings. I'm learning how to deal with the anger. "Why my child?" "Why don't more people understand?" I'm learning how to loosen my reigns a little bit because I know eventually, he's going to have to make his own decisions. It's all hard. And I don't know all the answers. I wish I did. I wish I had control.
       Since I can't control that, I have to focus on what I can. I can control how loving I am to my child. I can control how nurturing and understanding I am with my child. I can control my patience (most of the time!) with Callum. I can try my darndest to prevent Callum having an exposure to peanuts. I can control how much joy I take in every moment that he's with me. Because I'm ever so aware that these moments can be fleeting. 
   Here's the good news. In seventeen months, Callum has not once had a second Anaphylactic reaction. Knock on wood. Knock. Knock. Callum is an alert, happy, vigorous child. He's smart, he's curious, and he's the biggest joy in my life. He could melt my heart with his smile. I'm grateful. I'm grateful he's happy. I'm grateful he's not terminally ill; that there is something I can control. I'm grateful he's otherwise healthy. Most of all, I'm grateful he was given to me so I can learn the depths of love. 
   And, I am grateful to all of you for reading this! 
      

Saturday, June 11, 2011

Petits Fours

   Even though I have never tasted petits fours before, I have always had a slight obsession with them. They're so dainty and feminine and beautiful. I wanted petits fours for my 16th birthday so badly but that never came to light seeming as how the French bakery in our neighborhood was way overpricing their little cakes. Instead, for years, I admired these little confections from afar.
   Last month I saw an advertisement for this little petits four pan from the Martha Stewart Collection. I know, I know. You're probably thinking, "Martha Stewart? Come on, now!" But, all prison jokes and orange jumpsuits aside, the woman can cook and entertain. And, against my better judgement, I broke down and bought this pan that was genuinely overpriced for a piece of metal. I just had to have it. Wouldn't you know it, good ole Martha included the recipe along with the pan. All that was left to do was hope my husband wouldn't be enraged at the price of the pan and get baking!
   I've been waiting for an excuse to make these petits fours and last night, I got the opportunity. I hosted a Girls' Night and decided there was no better occasion to make them. I think as women, we can appreciate the beauty of food,  whereas men would pop three in there mouth at a time and never appreciate the elegance of their design. Below is Martha Stewart's Petits Fours recipe.
   I'm going to warn you now, if you in any way, shape or form, have weak arms, do not attempt to make the Sugar Glaze topping! It entails sifting your weight in powdered sugar. But, we'll get to that later!

Petits Fours by Martha Stewart
6 tbsp. unsalted butter
3 eggs
1/4 tsp. salt
1/2 cup sugar
3/4 tsp. Pure Vanilla Extract
3/4 cup cake flour, sifted

Sugar Glaze
12 cups confectioner's sugar, sifted (yep, this isn't a misprint. 12 freaking cups!)
1 cup milk
A few drops of food coloring
1 tsp. Pure Vanilla Extract (I added this to the recipe!)

 Preheat your oven to 375 degrees. Spray your pan with nonstick spray and set aside. Melt the butter and set aside to cool. Beat your eggs, salt, and sugar in a mixer on medium speed, until thick, about 8 minutes.
While the mixture is beating, sift your cake flour.


Add the vanilla. Fold in flour, rapidly but gently. Fold butter in gently without letting the butter settle to the bottom of the bowl. Quickly spoon the mixture into the pan, until batter is just below the rim. Now, instead of saying to fill it just below the rim, she should have said to fill it 2/3 way full because my little cakes ended up rising and spilling over. I guess that would explain why I only made 25 when the recipe is supposed to yield 30. Haha.

(If you spill over, try to wipe off excess with towel.)


( I had to call in reinforcement!)

(Callum: Taste-tester and whisker-extraordinaire!)

( That's a lot of sugar!)

Bake at 375 degrees until golden brown, about 11-12 minutes. While the petits fours are baking, sift sugar into a large (and I'm talking large!) bowl. Gradually add milk, whisking until mixture is the consistency of heavy cream. Now, you'll need to resist the urge to give up on this glaze. Sifting and then whisking 12 cups of confectioner's sugar is no easy feat. I recommend alternating arms every cup that you add. That way, the pain is evenly distributed amongst both of your arms. When your arms feel like they're going to fall off, Congratulations! You've reached the end!


Remove from oven.

Lay down a piece of wax paper to catch excess glaze and place the wire cooling rack on top of the wax paper. Invert the pan onto a wire rack and flip petits fours so the top (molded) side faces up. Spoon glaze on the petits fours while they're still warm. Let cool and serve. 
(Petits Fours before Glaze)


(Pink Petits Fours)

Plate and enjoy! 


Wednesday, June 8, 2011

Choco-Choco Lovers Cupcakes!

    Callum is one of those children that when he gets something in his head, he can not let it go! The other morning, I went to the Dentist with Callum in tote. He was petrified, even though I was the one in the chair. LOL. On the way out of the office, still trying to catch his breath after the hardest cry I've seen in a while, Callum goes, "go home, make cupcakes!" What kind of mother would I be if I declined his request? He clearly was in need of comfort food after that traumatic experience.
   I have a confession. Previously, I mostly used the boxed cupcake mix. Duncan Hines and Betty Crocker make some awesome boxed mixes. However, this day, I did not have the energy to go to the store. So, Callum and I decided to make cupcakes from scratch. And, to my delight, I found a recipe that I tweaked that is allergy friendly! This recipe is peanut-free, egg-free, and could be dairy-free if you prefer.
    Food for thought: Halfway through the cupcake experience, I started wondering, "What is the difference between a muffin and a cupcake." After a little online perusing, I found that there really is not a definitive answer. This is what I came up with. A cupcake is usually a lighter, sweeter, treat that is normally eaten on occasion. A muffin usually contains fruit or bran and is more dense in texture. Cupcakes are often iced and muffins are not. But, what it you make a carrot cake muffin? Or...a carrot cake cupcake? What's the difference then? See? Confusion! Then, I heard a explanation that made the most sense to me. "A muffin is just an excuse to eat cake for breakfast." Yep, sounds about right. I'm going with that answer.
     And now that I have made you sit through the muffin vs. cupcake battle in my mind, I will reveal my delicious Choco-Choco Lovers Cupcake. So easy, delicious, and safe. Healthy? Nah...but everyone needs a little sweetness now and then!

Choco-Choco Lovers Cupcakes:
1 1/2 cups Flour
1 cup Sugar
1 cup Milk (can also be substituted with water)
1 tsp. Salt
1 tsp. Baking Soda
1/3 cup Cocoa
1/2 cup Vegetable Oil
1 tsp. Vinegar (weird, I know, but essential)
1 1/2 tsp. Pure Vanilla Extract

(Above: My little helper in his apron!)


Preheat oven to 350 degrees. Mix all ingredients together in mixer until the texture is smooth and there are no visible lumps.
(Egg free = batter safe to eat= happy child!)
 (Smooth Consistency)

(Taste-tester)


Scrape down sides of the mixing bowl several times and continues to mix. When consistency is smooth, pour into cupcake liners until 2/3 full. You will be tempted to fill all the way to the top, but pouring the mixture only 2/3 way full, you will keep your cupcakes from overflowing while baking! Bake at 350 degrees for 25 minutes.
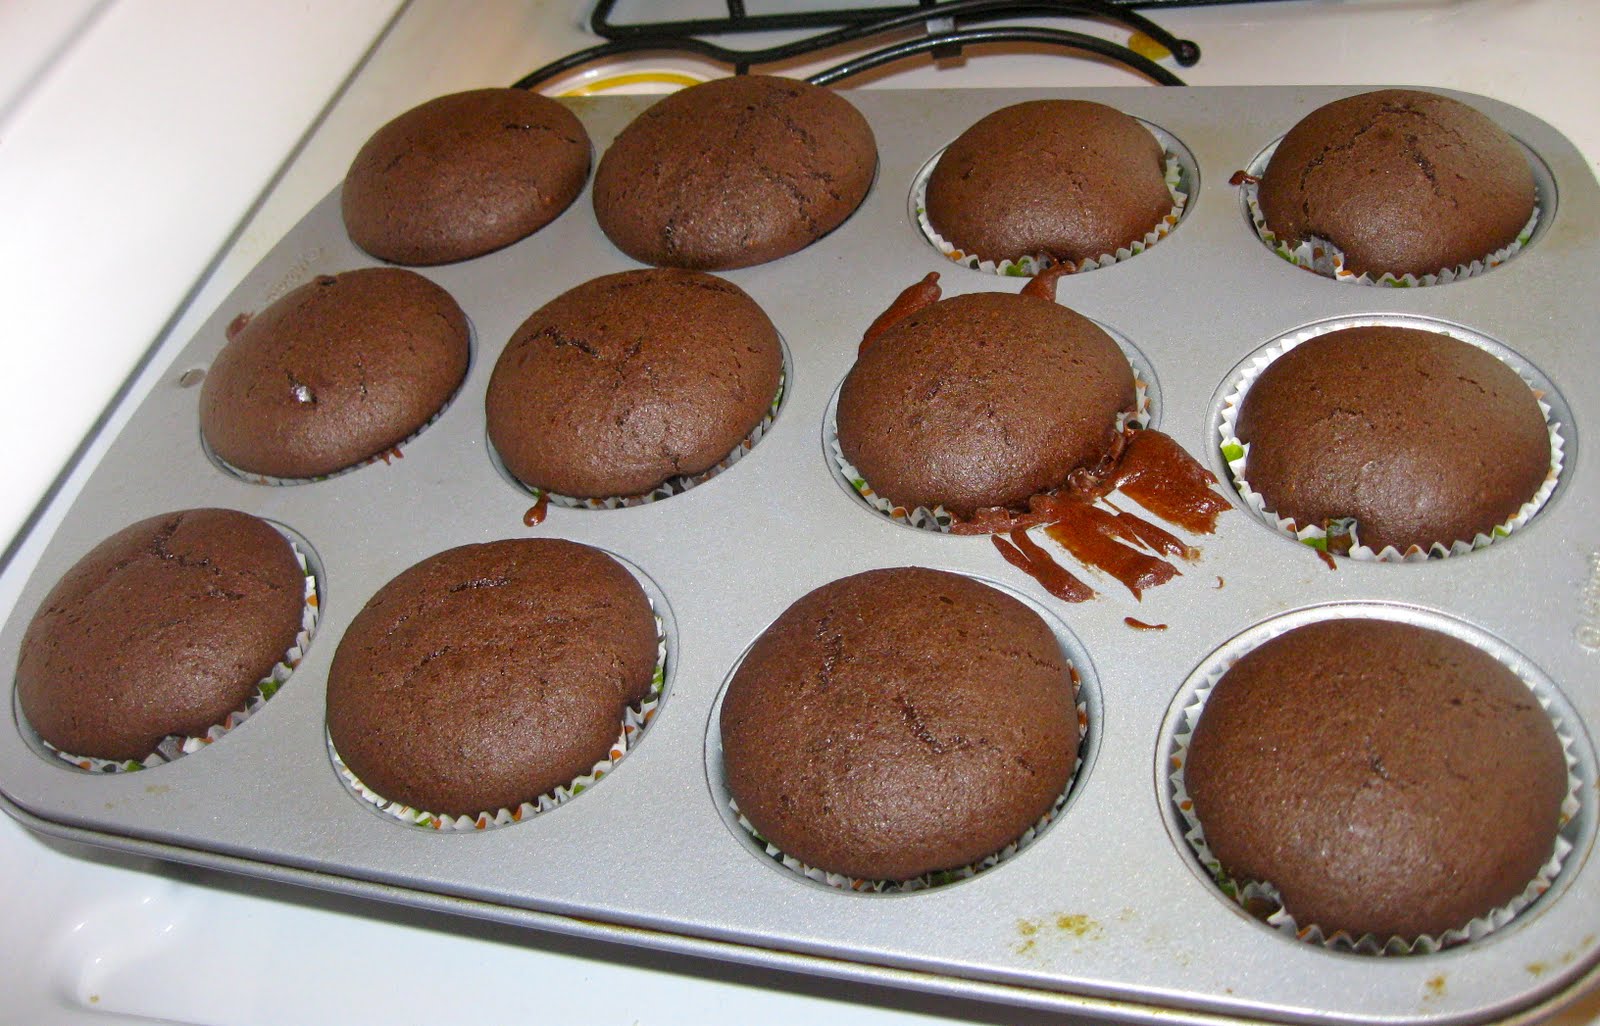
(Look how beautiful they turn out!)

(Tried not to spill batter, but alas, I am human!)

Chocolate Frosting: (Taken from Hershey's Perfectly Chocolate Frosting Recipe)
1/2 cup Butter or Margarine (or your butter substitute)
2/3 cup Cocoa
3 cups Confectioner's Sugar
1 1/2 tsp. Pure Vanilla Extract
1/3 cup Milk (or milk substitute)

Hershey's does it better. So, the only adjustment I made here was a little extra vanilla. I always add more vanilla. Make sure your butter is room temperature. Mix all ingredients together. Put into piping bag and pipe on frosting. If you don't have a piping set, simply cut a small hole in one of the corners of a Hefty or Glad storage or sandwich bag and pipe on frosting. 
(Look how cute!)


Serve with milk or water and enjoy! 


Friday, June 3, 2011

Very Vanilla Sixlet Cookies!

        As a peanut-free household, sometimes it can be hard to find candy and desserts that Callum likes. I am constantly baking "safe" cookies for Callum. The other day I was walking in the store, happened to pick up a Sixlet box, and was AMAZED that they were made in a peanut-free facility. I mean, I felt like I had hit the jackpot! All this time, my child has been deprived of those delicious looking M&M cookies. Okay, so maybe "deprived" is a bit dramatic. But, when you're a kid, and you see colorful cookies, I'm sure you wonder why you can't eat them like the other little kids.
         Instantly, I knew I had to make some kind of cookies using them. Below is a recipe I reworked from a base recipe I found in Penzey's Spices. I find that I have to adjust a lot of recipes to make them allergy-friendly.  The instant vanilla pudding in this recipe really adds a nice texture and sweetness to this cookie! I hope you all enjoy this delicious cookie recipe as much as my family does!

Ingredients:
2 sticks of butter (room temperature)
3/4 cup brown sugar
3/4 cup granulated sugar
2 eggs (room temperature)
1 1/2 tsp. of Pure Vanilla Extract (I use Penzey's!)
2 1/4 cups flour
1 tsp. baking soda
1 tsp. salt
2 boxes instant vanilla pudding (1.5 oz each box)
1 box of Sixlets (8 oz box)
4 oz. mini chocolate chips ( I prefer semi-sweet, Enjoy Life Chocolate Chips)


     Preheat oven to 350 degrees. Cream butter, brown sugar, and granulated sugar. Scrape down the sides of the mixing bowl and add the eggs and vanilla. Mix well.

     In a separate bowl, sift flour, baking soda, pudding mix, and salt.

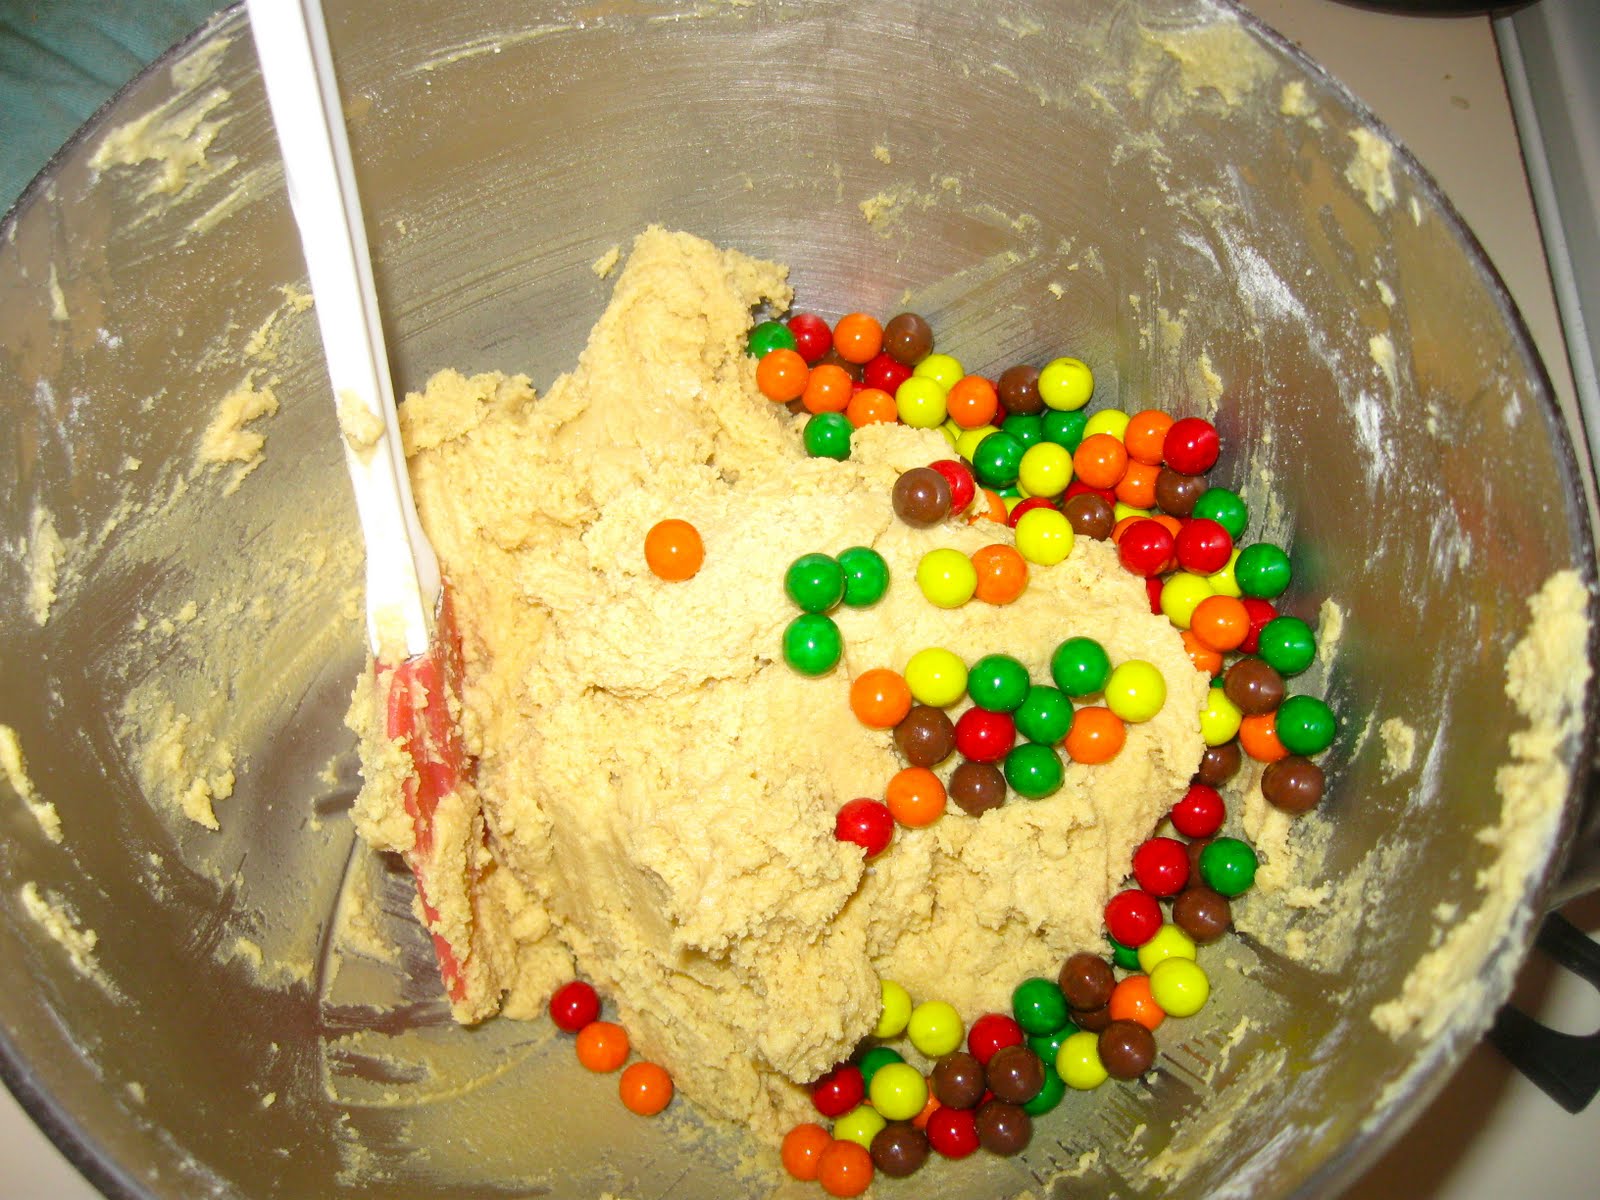
     Add slowly to the creamed mixture. After all the flour mix is added to the creamed mixture and mixed well, fold in the mini chocolate chips and Sixlets. It's important not to blend because that will smash the Sixlets and take all the fun out of it!

  Roll into walnut-sized balls and place on a greased (or Silpat) cookie sheet. Bake at 350 degrees for 12-14 minutes.
  Now, if you're like me and like your cookies a little gooey-er, I found that baking these for 13 minutes is a good time.


    Let the cookies cool and try to resist the deliciousness!!!

Wednesday, May 18, 2011

The Jarlsberg Grilled Cheese!

The Jarlsberg Grilled Cheese

    On a recent venture to our farmer's market, I made a huge score on a fantastic cheese. Maple smoked Jarlsberg is my new favorite cheese! It's savory and semi-sweet and seems to pair well with fruits and breads. 
    Back in my Starbucks days, when we would do coffee tastings, we would often pair cheeses and fruits with coffees. When I tasted this cheese at the market, I was instantly transported back to a coffee tasting where I paired Gouda and apples. It was like a light bulb. "I have to make a grilled cheese with this cheese and apples!"
     Below is my take on a salty and sweet tasty treat! I hope you guys enjoy this recipe. My husband's only complaint about this sandwich was that it was not bigger! Ha ha. 

Ingredients:
2 German Hard Rolls (or your preference of bread)
Six pieces of bacon
1/4 lb Maple smoked Jarlsberg Cheese
1 Fuji Apple
2 tbsp. Mayonnaise (or Miracle-Whip)
1/4 tsp. onion powder
Butter for toasting bread (I use "I can't believe it's not butter!")

On a cutting board, peel and slice your Fuji apple into thin slices. Set aside. Slice your Jarlsberg Cheese into thin slices and set aside. 


      In a medium pan, cook bacon on medium-high heat. I'm a constant burner of bacon. So, my rule of thumb now when cooking bacon is to go down the line, consistently flipping them over until they look about the right crispness. Move cooked bacon to a plate that is covered in paper towels. This will catch the excess grease. Set bacon aside for now.
    In a separate small bowl, mix two tablespoons of mayonnaise with 1/4 teaspoon of onion powder. 
       Butter both sides of the German Hard Rolls and put them facing down in a medium pan on medium-high heat. On the inside of the rolls, smooth your mayonnaise-onion mix. I do this on both pieces of the roll so that the flavor is spread evenly through the sandwich. 
     Add sliced Jarlsberg to both pieces of the roll. On one side of the roll, add apple slices. On the other side of the roll, add your desired amount of bacon. Let the separated rolls cook open face for about 2-3 minutes so cheese begins to melt.


     Put the two sides of the roll together, being careful not to drop the apple or bacon pieces. When both pieces are together, push sandwich down gently with your spatula. Cook on each side for about 2 minutes or until the bread is as toasted as you like it. 
     Remove from heat and cut down the center. Get ready to enjoy the perfect salty-sweet grilled cheese! 


   Callum took one bite of the sandwich. Haha...here he is enjoying a piece of Jarlsberg! 


Tuesday, May 17, 2011

Broccoli-Shallot Fettucini

   This past weekend, I raced my first 10K ever. One of the big things the running magazines talk about is carbo-loading. I wish that meant that in order for you to run well, you have to eat any and every carb in sight. However, that's not the case. Experts advise you to consume healthy, balanced carbohydrate meals in order to keep you energy stores high. 
      So I began thinking. There had to be some meal that would be delicious and beneficial. Below is one of the recipes I came up with. 


Broccoli- Shallot Fettuccine


Ingredients:
1 Full Head of Broccoli (rinsed,trimmed, and cut)
4 Shallots (sliced)
3 Garlic Cloves (sliced)
1 LB. Whole Grain Fettuccine
1 tsp. Penzey's Tuscan Sunset Spice
1 tsp. salt (divided)
1 tbsp. butter (I like to use "I can't believe it's not butter")
1/4 cup grated Parmesan
1 tbsp. Garlic-infused olive oil (regular olive oil works fine too!)


Directions:
     In a large quart pan, bring cold water and a pinch of salt to a boil. The salt will keep the noodles from sticking together. 
      While water is coming to a boil, rinse and cut broccoli. Slice shallots and garlic. Heat olive oil in medium pan on medium-high heat. Add broccoli florets first since they will take longer to cook. About 4 minutes later, add shallots and garlic. While vegetables are sautéing, add Tuscan Sunset spice and 1/2 tsp of salt and mix so every vegetable is coated. Sauté vegetables until soft but still firm, about 8-10 minutes total depending on pans and stove-top heat. Once sautéed,  move to different burner but leave in pan. 


      By this time, your water should be at a boil. Add fettuccine and cook as directed on the package. Drain water and return pasta to the boiling pan. Add the butter and grated Parmesan and a pinch of salt. Mix together with tongs until all noodles are coated. 
    Plate the pasta and add the broccoli-shallot mixture to the top. Enjoy! 

Please excuse the quality of the plated pictures. I just realized that food does not photograph well against a red background. But I promise, this recipe is delicious!